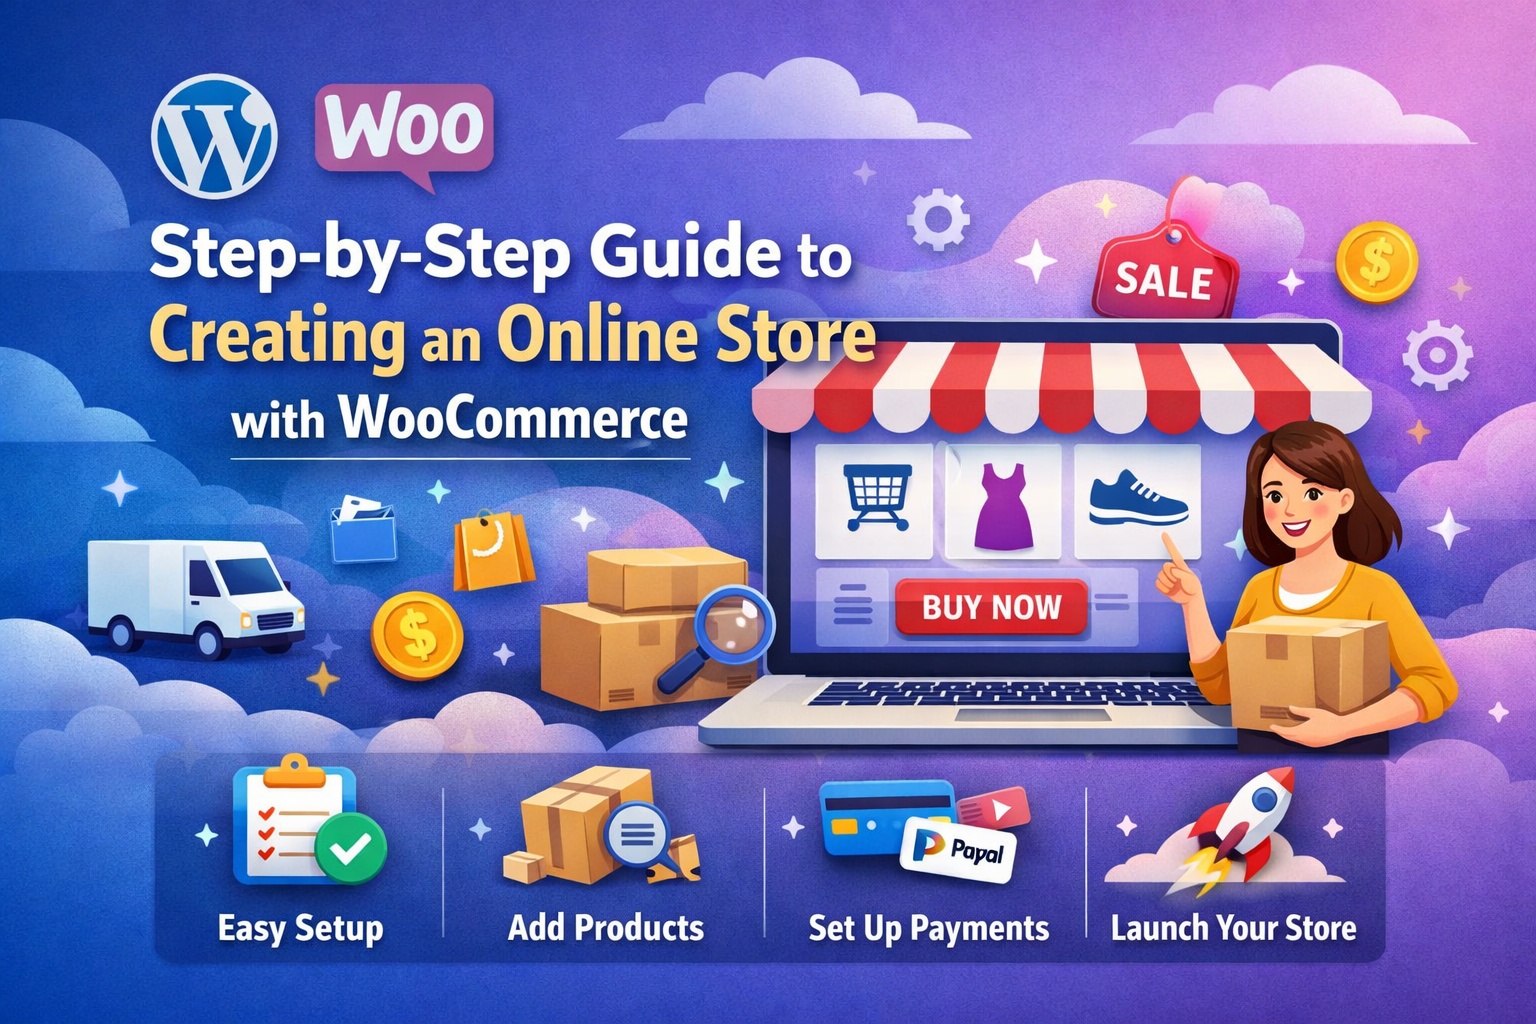
Step-by-Step Guide to Creating an Online Store with WooCommerce
Creating an online store is no longer limited to big brands with large budgets. Today, anyone — from small business owners to freelancers — can launch a professional eCommerce website with the right tools. One of the most powerful and beginner-friendly solutions is WooCommerce.
In this detailed guide, you’ll learn how to create an online store step by step using WooCommerce, even if you have zero technical experience.
What Is WooCommerce?
WooCommerce is a free WordPress plugin that turns your website into a fully functional online store. It allows you to sell physical products, digital downloads, subscriptions, services, and more.
It works with:
WordPress – The world’s most popular website-building platform.
Together, WordPress + WooCommerce provide flexibility, scalability, and full control over your store.
Why Choose WooCommerce for Your Online Store?
Before diving into setup, let’s understand why WooCommerce is a smart choice:
- Free and open-source
- Beginner-friendly setup wizard
- Secure payment gateway integrations
- Unlimited product listings
- Full design customization
- SEO-friendly structure
- Scalable for large businesses
Whether you’re starting small or planning to scale, WooCommerce grows with you.
Step 1: Get Domain Name and Hosting
Your online store needs:
- Domain Name – Your website address (e.g., mystore.com)
- Web Hosting – Where your website files are stored
Choose reliable hosting that supports WordPress and WooCommerce. Look for:
- One-click WordPress installation
- SSL certificate (important for security)
- Good speed and uptime
- Customer support
Once hosting is active, install WordPress from your hosting dashboard.
Step 2: Install WordPress
Most hosting providers offer one-click WordPress installation.
After installation:
- Visit: yourdomain.com/wp-admin
- Log in using your credentials
- You’ll reach the WordPress dashboard
Now you’re ready to install WooCommerce.
Step 3: Install and Activate WooCommerce
- Go to Plugins → Add New
- Search for WooCommerce
- Click Install Now
- Click Activate
WooCommerce will launch its setup wizard automatically.
Step 4: Complete WooCommerce Setup Wizard
Store Details
- Store address
- Country
- Currency
- Product types (physical/digital)
Payments
You can enable:
- Cash on delivery
- Bank transfer
- Credit/debit card payments
- UPI (for India)
- PayPal
Shipping
Set shipping zones and charges:
- Free shipping
- Flat rate
- Location-based shipping
Recommended Features
Choose additional tools like:
- Automated taxes
- Marketing features
- Shipping label printing
Once complete, your store framework is ready.
Step 5: Choose and Customize a Theme
Your theme controls your store’s design.
You can:
- Use a free WordPress theme
- Install a WooCommerce-optimized theme
- Purchase a premium theme for advanced features
Popular WooCommerce-friendly themes include:
- Astra
- Storefront
- OceanWP
Customize your theme by going to:
Appearance → Customize
Adjust:
- Logo
- Colors
- Typography
- Homepage layout
- Header & footer
Make sure your store looks clean, professional, and mobile-friendly.
Step 6: Add Your First Product
Now comes the exciting part — adding products!
Go to:
Products → Add New
Fill in:
Product Title
Write a clear and attractive name.
Product Description
Include:
- Features
- Benefits
- Specifications
- Usage details
Product Data
Select product type:
- Simple product
- Variable product (size, color options)
- Digital download
Set:
- Regular price
- Sale price
- Inventory (stock quantity)
- Shipping weight
Product Images
Upload:
- Main product image
- Gallery images
Clear images increase trust and conversions.
Click Publish.
Your first product is now live!
Step 7: Configure Payment Gateways
Secure payments are essential for trust.
You can integrate:
- PayPal
- Stripe
- Razorpay (popular in India)
- Direct bank transfer
- UPI payment gateway
Go to:
WooCommerce → Settings → Payments
Enable your preferred gateway and configure API keys.
Always test payment processing before launching.
Step 8: Set Up Shipping Rules
Go to:
WooCommerce → Settings → Shipping
Create shipping zones like:
- India
- International
- Specific states
Assign:
- Flat rate
- Free shipping
- Local pickup
Clear shipping rules prevent customer confusion.
Step 9: Configure Taxes
If required in your country:
Go to:
WooCommerce → Settings → Tax
Enable tax calculation and set:
- GST (India)
- VAT
- Sales tax
You can manually set tax rates or use automated tax services.
Step 10: Install Essential Plugins
To improve functionality, consider installing:
- SEO plugin (for search rankings)
- Security plugin
- Caching plugin (for speed)
- Backup plugin
- Email marketing plugin
Essential plugins improve performance, visibility, and security.
Step 11: Optimize for SEO
To get traffic, your store must rank in search engines.
Focus on:
- Keyword-rich product titles
- Unique product descriptions
- Fast loading speed
- Mobile responsiveness
- SEO-friendly URLs
- Internal linking
Also submit your site to Google Search Console.
Step 12: Test Your Online Store
Before launching:
- Test checkout process
- Test payment gateway
- Check mobile layout
- Verify email notifications
- Check product links
- Review shipping calculations
Fix any errors before going live.
Step 13: Launch Your Store
Once everything works perfectly:
- Announce on social media
- Run ads
- Offer launch discounts
- Start email marketing
Promotion is key to your first sales.
Bonus: Tips to Grow Your WooCommerce Store
- Offer discounts and coupon codes
- Add customer reviews
- Use abandoned cart recovery
- Optimize product pages for conversions
- Improve website speed
- Focus on customer service
Consistency and marketing effort determine long-term success.
Common Mistakes to Avoid
- Ignoring mobile optimization
- Poor product images
- Complicated checkout
- Hidden shipping costs
- Weak product descriptions
- No SEO strategy
Avoid these mistakes to build a profitable store.
Final Thoughts
Creating an online store with WooCommerce is easier than ever. With the right setup, proper customization, and strong marketing strategy, you can turn your website into a successful online business.
The best part? You own your store completely — no marketplace restrictions, no commission cuts.
Start today, take it step by step, and focus on providing value to your customers.
Your eCommerce journey begins now.
Leave a Reply