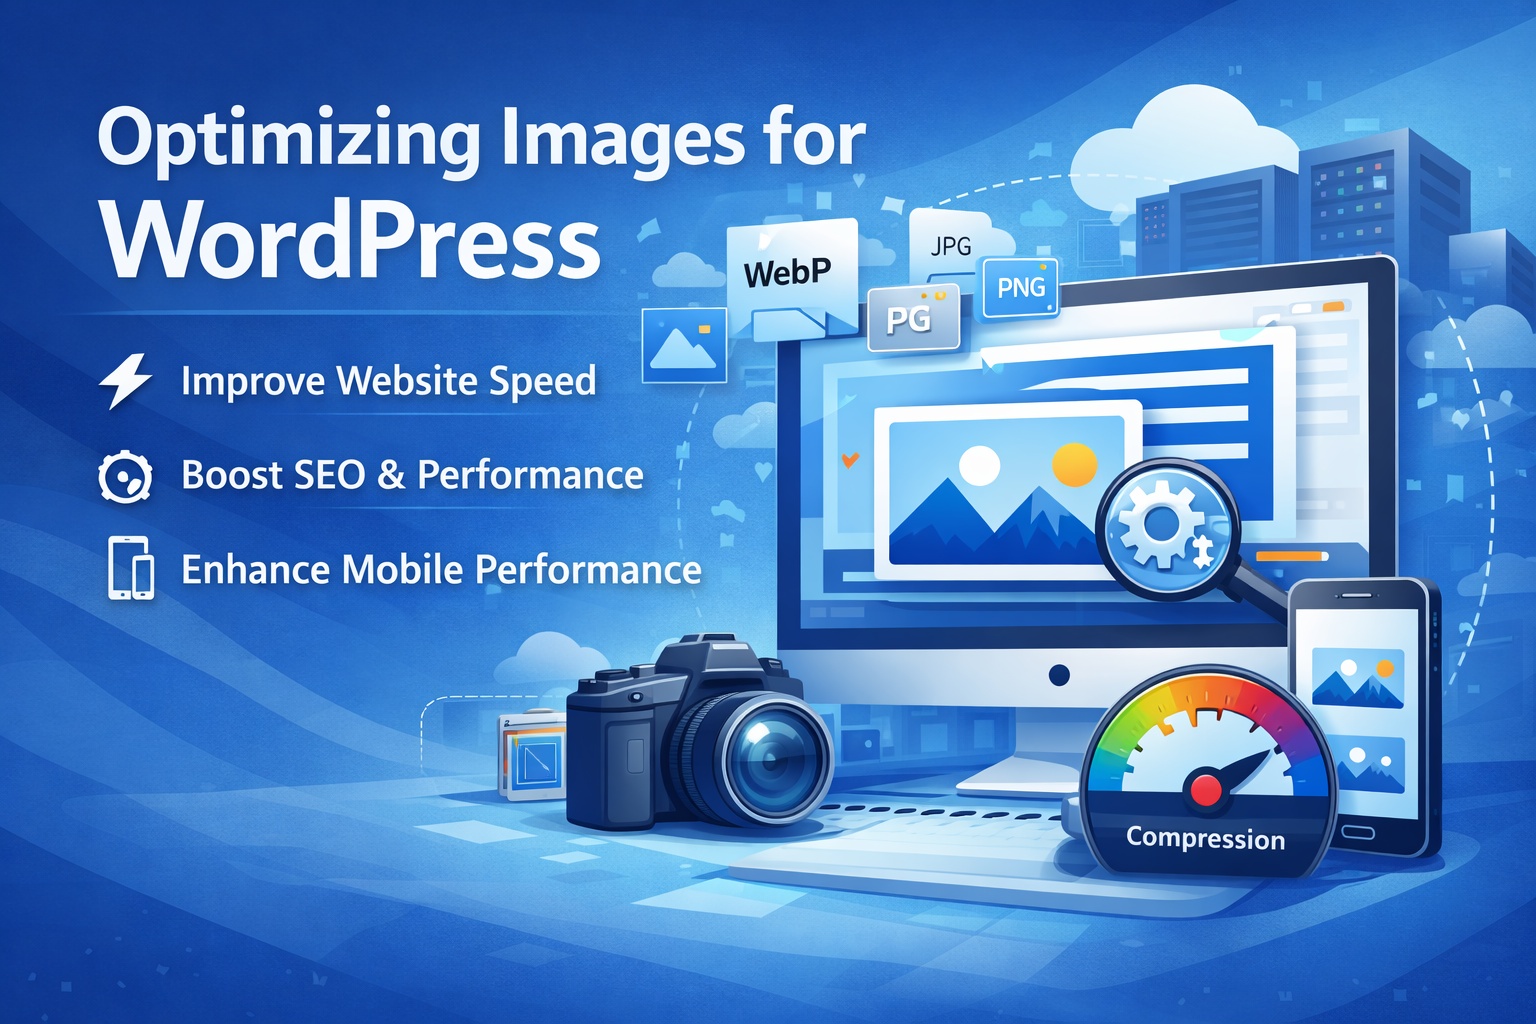
Optimizing Images for WordPress
Images make a WordPress website visually appealing, engaging, and easier to understand—but if they are not optimized, they can seriously slow down your site. Optimizing images for WordPress is the process of reducing file sizes, choosing the right formats, and configuring images properly so your website loads faster without sacrificing quality.
This guide explains image optimization in simple, human language, helping beginners and experienced site owners improve performance, SEO, and user experience.
Why Image Optimization Matters in WordPress
Images are often the largest files on a website. When they are too large or poorly optimized, they increase page load times and frustrate visitors.
Optimized images help you:
- Improve website loading speed
- Enhance mobile performance
- Reduce server bandwidth usage
- Improve SEO rankings
- Deliver a better user experience
Search engines favor fast-loading websites, and visitors are more likely to stay on a site that loads quickly.
Understanding Image Optimization
Image optimization is about balancing quality and performance. The goal is to keep images looking sharp while making file sizes as small as possible.
This involves:
- Choosing the right image format
- Compressing images
- Using proper image dimensions
- Adding SEO-friendly attributes
- Serving images efficiently on all devices
When done correctly, users won’t notice any quality loss—but they will notice faster load times.
Best Image Formats for WordPress
Choosing the right image format is the first step in optimization.
Common image formats used in WordPress:
- JPEG (JPG): Best for photographs and complex images with many colors
- PNG: Ideal for images requiring transparency or sharp edges
- WebP: Modern format with excellent compression and quality
- GIF: Suitable for simple animations, not large images
- SVG: Great for logos and icons (requires proper security handling)
For most websites, JPEG and WebP offer the best balance between quality and size.
Resizing Images Before Uploading
One of the most common mistakes is uploading images that are much larger than needed. For example, uploading a 4000px-wide image for a section that only displays at 800px.
Best practices for resizing:
- Resize images to the maximum display size before uploading
- Avoid uploading camera-original or stock image sizes
- Use consistent image dimensions for design uniformity
Smaller dimensions mean smaller file sizes and faster loading.
Image Compression Explained
Image compression reduces file size by removing unnecessary data.
Types of compression:
- Lossy compression: Reduces file size significantly with minimal quality loss
- Lossless compression: Preserves quality but offers smaller size reduction
For most WordPress sites, lossy compression is recommended because the visual difference is barely noticeable while performance gains are significant.
Using WordPress Image Sizes Effectively
When you upload an image, WordPress automatically creates multiple versions, such as:
- Thumbnail
- Medium
- Large
- Full size
Using the correct image size in posts and pages ensures that browsers don’t load larger images than necessary. This is especially important for mobile users.
You can manage default image sizes from the Media Settings section in the dashboard.
Image Optimization and Mobile Responsiveness
More than half of website traffic comes from mobile devices. Optimized images are critical for mobile performance.
Optimized images help:
- Reduce mobile data usage
- Improve loading speed on slower networks
- Maintain layout consistency on small screens
WordPress automatically supports responsive images, but proper optimization ensures the best results.
SEO Benefits of Optimized Images
Image optimization directly impacts search engine optimization.
SEO-friendly image practices:
- Use descriptive file names instead of generic ones
- Add meaningful alt text for accessibility and SEO
- Avoid keyword stuffing in image attributes
- Use captions where they add value
Search engines use image data to understand page content, which can improve visibility in search results and image searches.
Lazy Loading Images in WordPress
Lazy loading delays loading images until they are needed—usually when they appear in the user’s viewport.
Benefits of lazy loading:
- Faster initial page load
- Reduced bandwidth usage
- Improved performance on long pages
Modern WordPress versions include native lazy loading, making it easier to improve performance without extra configuration.
Managing Image Quality Consistency
Consistency matters for professional-looking websites. Poorly optimized images can appear blurry, stretched, or pixelated.
To maintain consistency:
- Use similar aspect ratios across pages
- Avoid over-compression
- Test images on different screen sizes
- Maintain uniform visual style
A consistent image strategy improves branding and trust.
When to Use External Image Hosting or CDNs
For image-heavy websites, using a content delivery network (CDN) or external image hosting can significantly improve performance.
External delivery helps by:
- Serving images from locations closer to users
- Reducing server load
- Improving global loading speed
This is especially useful for large blogs, portfolios, and high-traffic websites.
Common Image Optimization Mistakes to Avoid
Avoiding common mistakes can save time and prevent performance issues.
Common errors include:
- Uploading oversized images
- Using the wrong file format
- Ignoring alt text
- Over-compressing images
- Relying only on full-size images
Conclusion
Optimizing images for WordPress is one of the simplest yet most powerful ways to improve website performance. By resizing, compressing, and managing images correctly, you create a faster, more user-friendly website that performs better in search engines.
Whether you run a blog, business website, or online store, image optimization helps ensure your site looks great, loads fast, and delivers a smooth experience for every visitor.
Leave a Reply